
Media and WordPress
To increase the interest of the reader, it’s important for bloggers to add interesting and attention grabbing images that are of course related to the post. This is because an image makes a long blog post seem visually appealing and also because it helps readers understand the text more clearly. If you have a blog on WordPress and you are wondering how to upload relevant and eye-catching images in your post, then this article is a must read for you. You will learn how to how media and WordPress can work together to help you achieve your goals.
In this article you’ll learn how you can use WordPress Media settings to its best and upload images instantly. Through WordPress Media settings, you can crop and resize images in seconds and make sure they are not too big or small or pixilated and exactly of the size you want in your WordPress blog.
Here’s a step by step guide on how you can upload images on WordPress blog:
Step#1- Login WordPress Admin
To start the process of uploading the image, you first need to access your blog’s WordPress admin dashboard. For this, write /wp-admin after the blog domain and press enter. Now insert username and password to access dashboard.
Step#2- Open a New or an Existing Post
As you enter your WordPress dashboard, on the left hand side you will see a menu bar with several options. Now click on post. As you click on it, the button expands; either choose ‘edit’ or ‘add new’ option to proceed further. If you want to insert an image in the existing post, click on ‘edit’ otherwise click on ‘add new’ to insert image in a new post.
Step#3- Select the Cursor’s Position
After clicking on one of the options, place the cursor where you want to insert the image in the document. Once you have selected the place for the image now, click on the rectangular shaped icon that appears above the tool bar next to the option upload/insert.
Step#4- ‘Add an Image’ Dialogue Box Appears
Once you click on the graphic icon, a dialogue box of ‘add an image’ will appear on the screen. On the dialogue box you will see options like ‘from computer’, ‘from URL’, ‘Gallery’ and ‘Media Library’. These are the locations from where you can easily choose your desired image and insert in your blog post.
Step#5- Click on ‘From Computer’
If you want to insert image from your computer, then click on ‘From computer’ tab and then choose a file. Now browse to find the picture on your computer. It’s similar to the way you select attachments for emails. Once you’ve selected the image of your choice click on ‘upload’ button.
Step#6- Insert Image Information
Now enter details about the image in the dialogue box in front of you. This includes title, alternate text, caption and description. In addition to this, you can also specify attachment display settings including alignment, link to and size.
Here’s how these details work:
- Title- is displayed on the image’s attachment page.
- Caption- is displayed underneath the image.
- Alt Text- This text is only visible to search engines.
- Description- This information is displayed on the attachment page with the image.
Step#7 ‘From URL’
Instead of uploading an image from your computer, if you wish to upload image from the web, using a URL, skip step 6.
With the help of WordPress Media settings, you can easily insert images from any website or domain’s URL.
For this you will have to click on ‘from URL’ button. Using this option you can insert an image that already exists on some other website. After you click on ‘from URL’, insert URL and the image. You can also write caption and Alt text if you want. However, it is important to note if the image hosted elsewhere is removed from that location, it will not be functional on your blog anymore.
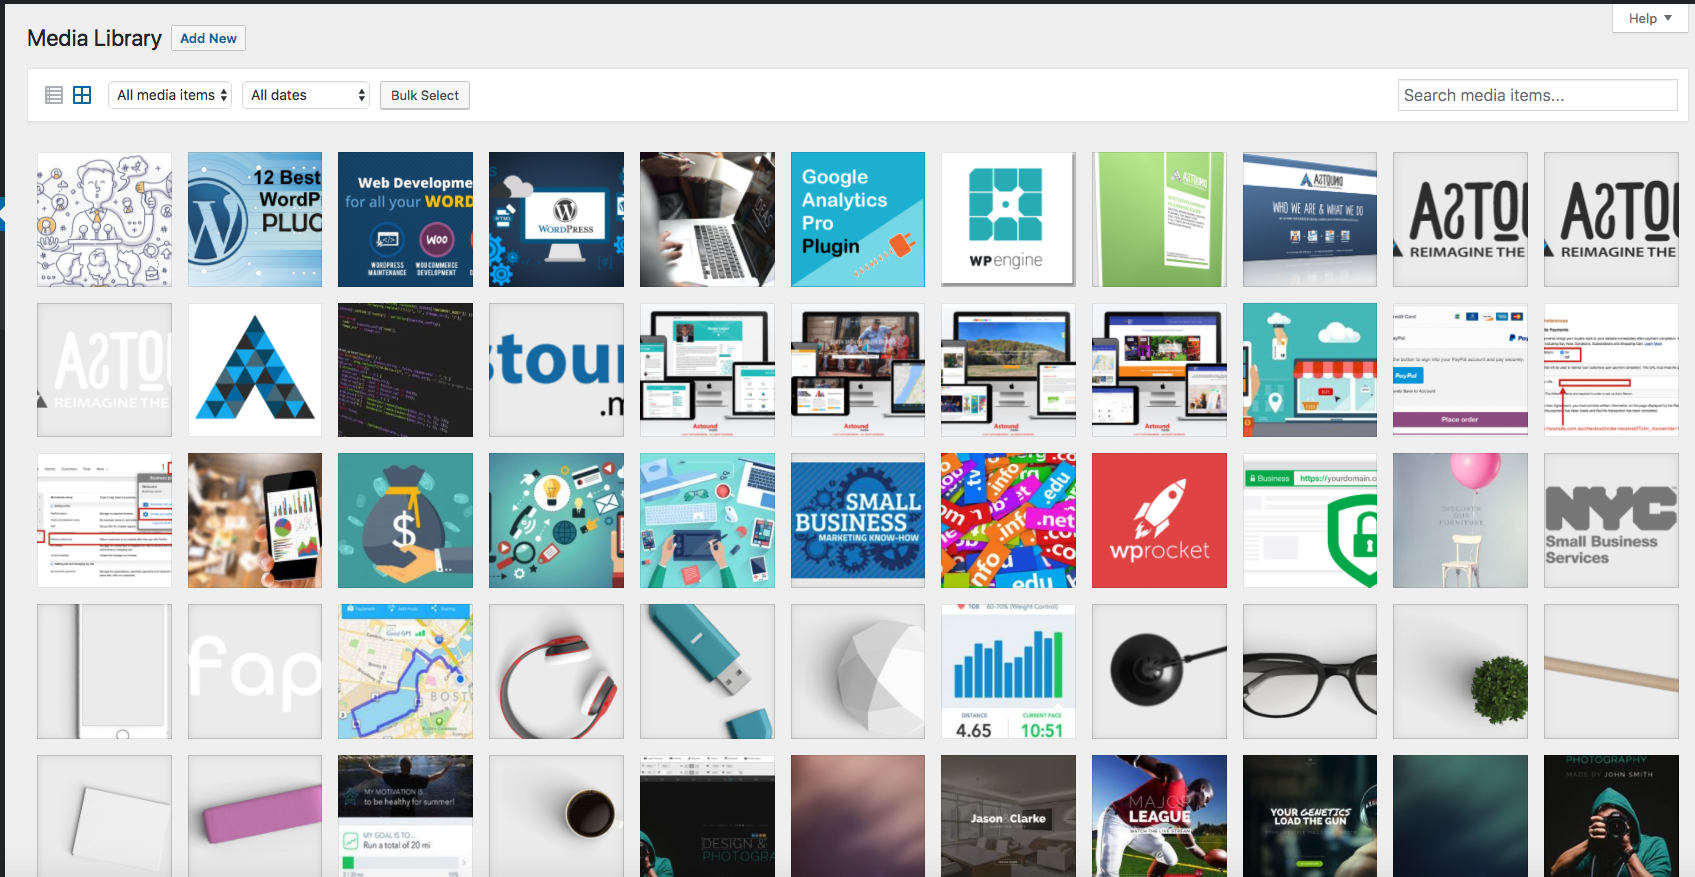
Step#8- Using Media Library
You can skip step 6 and 7, if you want to choose an image from media library. Media library option appears on the Add an Image dialogue box. Click on ‘Media Library’ to choose from a wide range of pictures available. Locate the image you think goes best with your blog post. Click on the image to select.
Step#9- Image Editing
Before you click on the option ‘Insert into Post’, you can edit the image if needed. For editing, once you upload the image using any of the options discussed in step 6, 7 and 8, click on ‘edit image’ button.
As you click this button you will be taken to a new screen where you can easily scale and crop your image to your desired size. You will see some basic tools like crop, rotate, scale and size.
Step#10- Crop the Image
Using the crop tool, you can easily cut out the parts of the image that you don’t want to be displayed. Also, it helps enhance the portion of the image that you want to bring attention to. For this, select the portion of the picture that you want to be included, now click the crop button. As you click, the picture will be cropped the way you want. If you are satisfied with the results, you can click on save and if not, then crop it again. You can undo, by clicking on the ‘Undo’ button.
Step#11- Scale Image
For scaling the image, click on ‘scale image’ option to the right. Now specify the pixels value that suits your blog. Here an important thing to note is that the aspect ratio will be adjusted automatically. This means if you enter the height aspect, the width will be adjusted automatically. This is done to give you the best image results. If you are satisfied and happy with the scale results, click on save.
Step#12- Click ‘Insert into Post’
Once you’ve edited the image, now it’s time to insert it in your blog post for readers to view. For this, click on ‘Inset into Post’ button present right at the bottom of the ‘Add an Image’ dialogue box. The image will be posted when you click on it. Now go to your original blog domain to view the image inserted.
So, try it now and make your blog post more appealing to your readers!
We at Astound Media are here to help you increase the interest of the reader. Take a look through the services we offer and choose the one that best fits the needs of your company and let us help you redefine the status quo & CAPTIVATE your audience.

My areas of focus include marketing strategy development, marketing operations design and optimization, marketing automation, sales operations, content development, content marketing, content monetization, web development, design, and information architecture.
I pride myself on being technical, strategic, and tactical. I work well as the liaison between the technical and non-technical project stakeholders, and I work diligently to achieve results.