In this post, we’ll show you how to add Google Analytics to create a Google Analytics account to use with your WordPress website.
Step 1: Sign In to Google
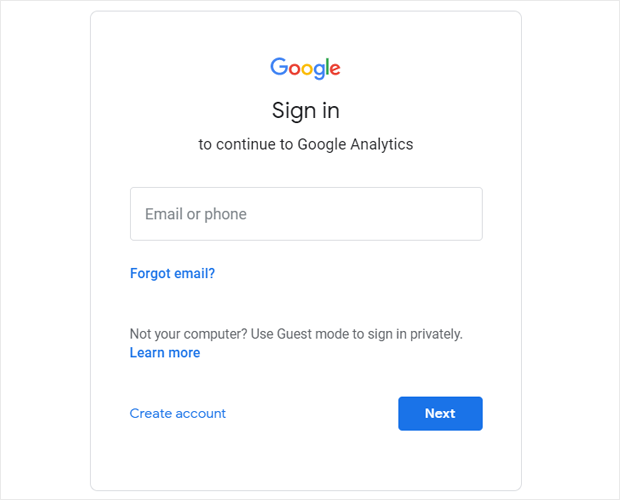
The first thing you’ll need to do is log in or sign up for a Google account.
To get started, you’ll need to open the Google Analytics website and click the Sign in to Analytics link or Start for free button in the top right corner of the page.

Next, you can log in to your existing Google account if you have one, or click the Create account link to create a new Google account.
Step 2: Sign Up For Google Analytics
After you’ve signed in to your Google account, you’ll need to sign up for Google Analytics. Click the Sign Up button on the right side of the page to get started.

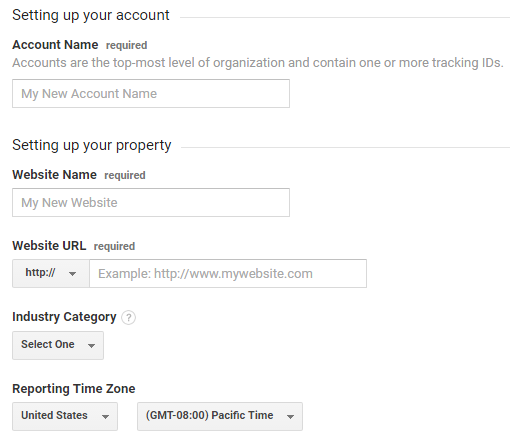
Next, you’ll need to enter the settings for the site you want to start tracking.
Make sure the Website option is selected at the top.
 Then you can scroll down to enter your website information. You’ll need to name your Google Analytics account, and enter your website name, URL, and industry, as well as your time zone.
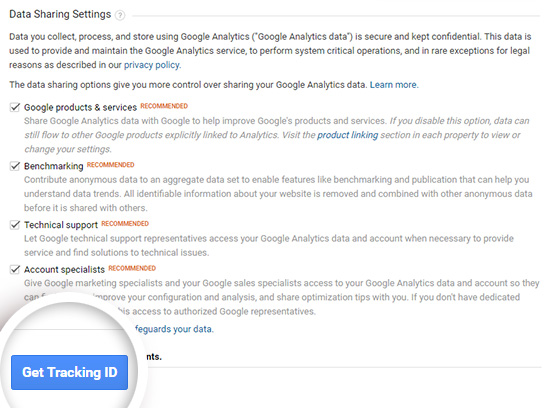
After filling in your website details, you can scroll down a bit to customize your data sharing settings. When you’re finished selecting your options, you can click the Get Tracking ID button at the bottom of the page.
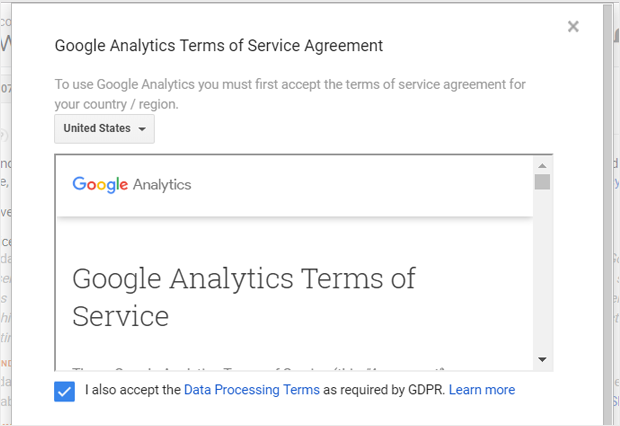
In the popup window that appears, you’ll need to review and accept the Google Analytics Terms of Service and the Data Processing Terms as required by GDPR.
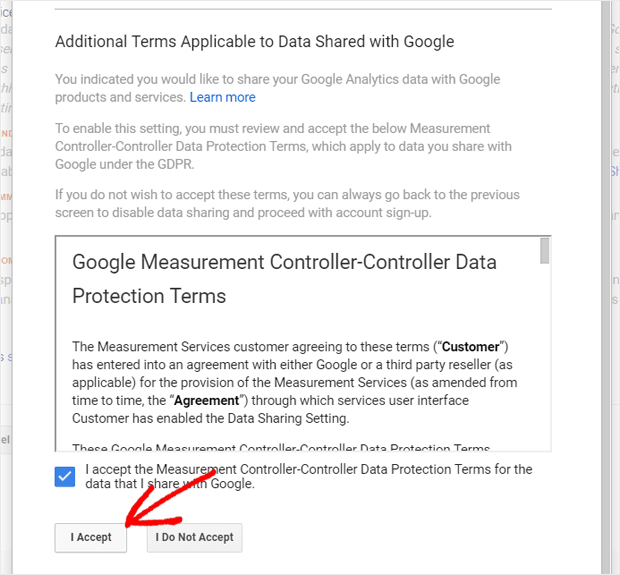
After that, you should also review and accept the Measurement Controller-Controller Data Protection Terms. Check the box stating that you accept this term, and click on the I Accept button at the end.
That’s it! You’re now signed up for Google Analytics. Next, we’ll add Google Analytics to WordPress.
We hope you enjoyed our post on how to create a Google Analytics account


